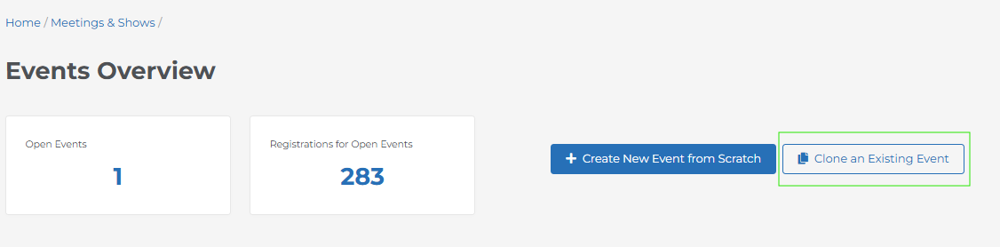
- Start from https://app.console.rhythmsoftware.com/events/
- Choose Clone an Existing Event
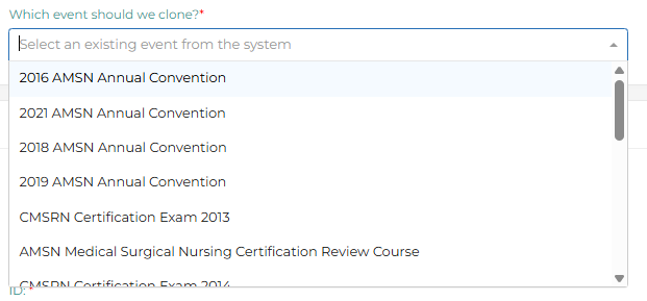
- Choose event you wish to clone from dropdown list
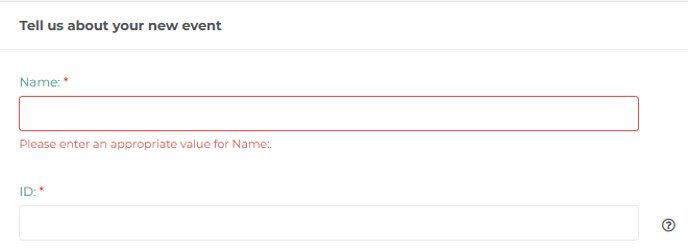
- Add new name and new ID
- Update Start Date & End Date

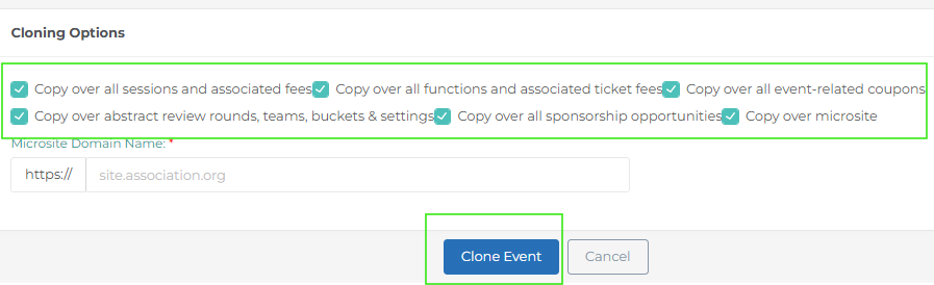
- Select your cloning options. Add microsite if necessary. Then click Clone Event.
You have successfully created a new event. Now we need to review the components and make updates
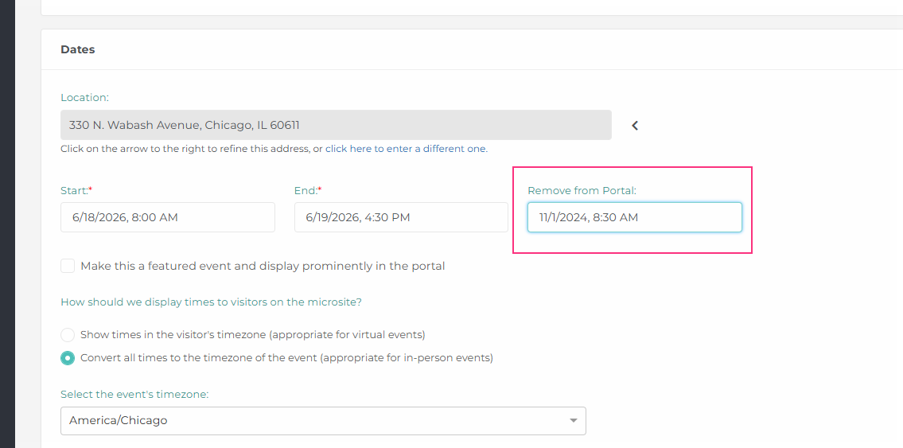
- Go to Setup >>> Event details. Scroll down to the dates section and update the Remove from Portal date. The old date will have carried over from the cloned event, and this setting will keep your new event from displaying in the portal. Save Changes.
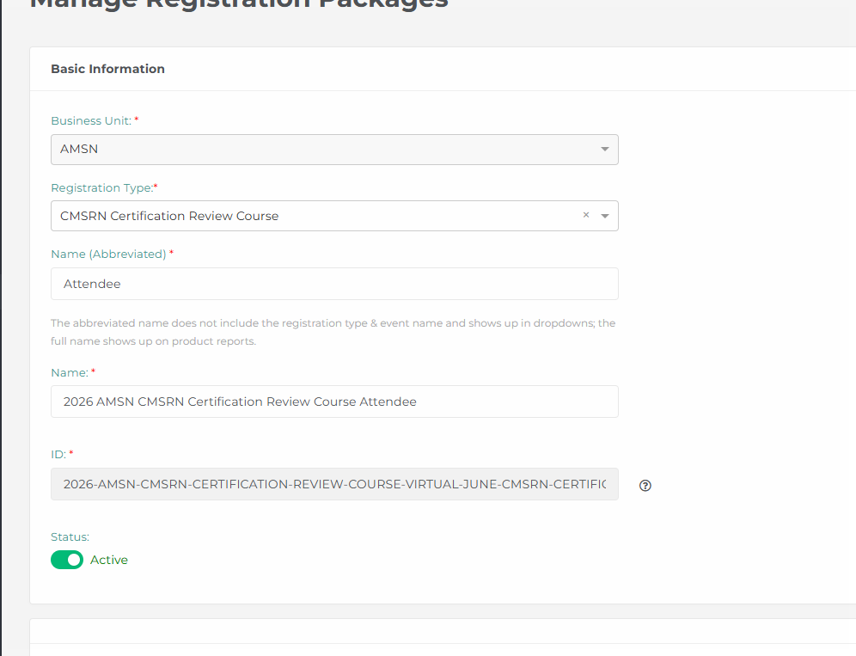
- Go to Set Up >>> Registration >>> Packages. Update the names of the packages to match the new event. Update pricing, if necessary. Repeat process for all packages.
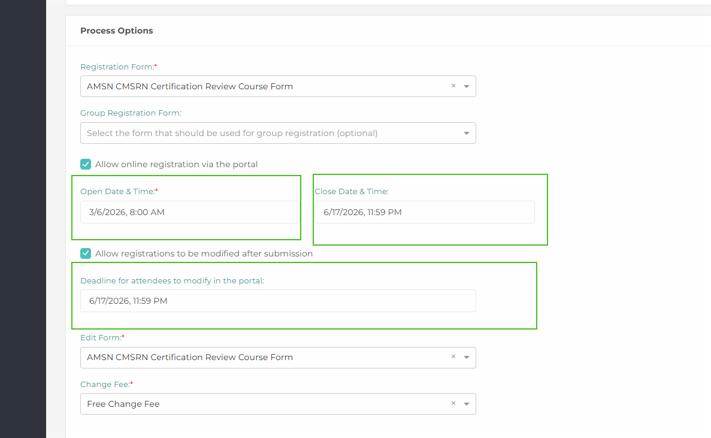
- Go to Set Up >>> Registration >>> Processes. Check process options. Make sure the appropriate registration form is selected. Update the registration dates to match the new event.
- Scroll to the bottom of the process page. Review the confirmation email and update it as needed. Save changes.
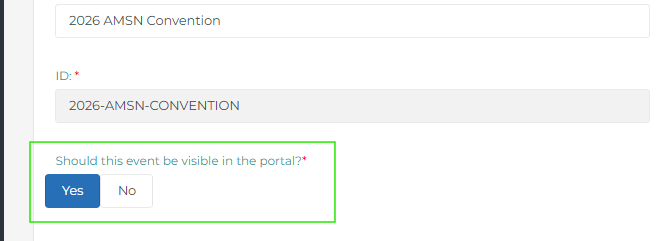
- When you have completed set up, return to Event Details to make new event visible in the portal.
Was this article helpful?
That’s Great!
Thank you for your feedback
Sorry! We couldn't be helpful
Thank you for your feedback
Feedback sent
We appreciate your effort and will try to fix the article